Getting Started
This guide will walk you through running your first AI agent configuration with Wasmind.
Verify Installation
First, let's make sure everything is installed correctly:
# Check that all tools are available
wasmind_cli --version
docker --version
cargo component --version

# Verify WASI target is installed (required for building actors)
rustup target list | grep wasm32-wasip1
You should see version numbers for all three commands and wasm32-wasip1 (installed) in the target list. If any command fails or the WASI target shows as not installed, go back to the Installation guide.
Understanding the CLI
The Wasmind CLI provides helpful commands to get information about your setup:
# Get information about default locations and system details
wasmind_cli info

# Check a configuration file for errors
wasmind_cli check -c your-config.toml

# Clean cached actor builds
wasmind_cli clean
The info command shows you the default configuration location and other useful paths.
Create Your First Configuration
Create a new file called assistant.toml with the following content:
# Simple Assistant Configuration
# A basic AI assistant for getting started with Wasmind

starting_actors = ["assistant"]

##############################
# TUI Config #################
##############################

[tui.dashboard.key_bindings]
"ctrl-c" = "Exit"
"esc" = "InterruptAgent"

[tui.chat.key_bindings]
"ctrl-a" = "Assist"

##############################
# Actors Config ##############
##############################

[actors.assistant]
source = { git = "https://github.com/SilasMarvin/wasmind", sub_dir = "actors/assistant" }

[actors.assistant.config]
model_name = "openai/gpt-5-mini"

##############################
# LiteLLM Config #############
##############################

[litellm]
image = "ghcr.io/berriai/litellm:main-latest"
port = 4000
container_name = "wasmind-litellm"

[[litellm.models]]
model_name = "openai/gpt-5-mini"

[litellm.models.litellm_params]
model = "openai/gpt-5-mini"
api_key = "os.environ/OPENAI_API_KEY"
Let's understand what you just created:
starting_actors- When Wasmind starts, it automatically starts with these actors: the "assistant"[actors.assistant]- Defines where to find the assistant actor (fetched from GitHub)[actors.assistant.config]- Configures the assistant to use GPT-5-mini[tui.*]- Sets up keyboard shortcuts for the terminal interface[litellm]- Configures the AI model proxy that handles API calls
What this creates: A single AI agent that can have conversations but has no access to tools like file editing, command execution, or web browsing. It's a pure conversational assistant.
Want to customize? The Configuration guide explains how to modify these settings, add more actors, and create more complex setups.
Run Your Configuration
Now run your configuration:
# Set your API key (if using OpenAI)
export OPENAI_API_KEY="your-api-key-here"

# Run your assistant configuration
wasmind_cli -c assistant.toml
Note: You'll need an OpenAI API key set as the
OPENAI_API_KEYenvironment variable. If you don't have one, you can modify the configuration to use other models from LiteLLM's supported providers.
Wasmind will:
- Start the LiteLLM proxy in Docker
- Fetch and build the assistant actor from GitHub
- Launch the terminal user interface (TUI)
Understanding the TUI
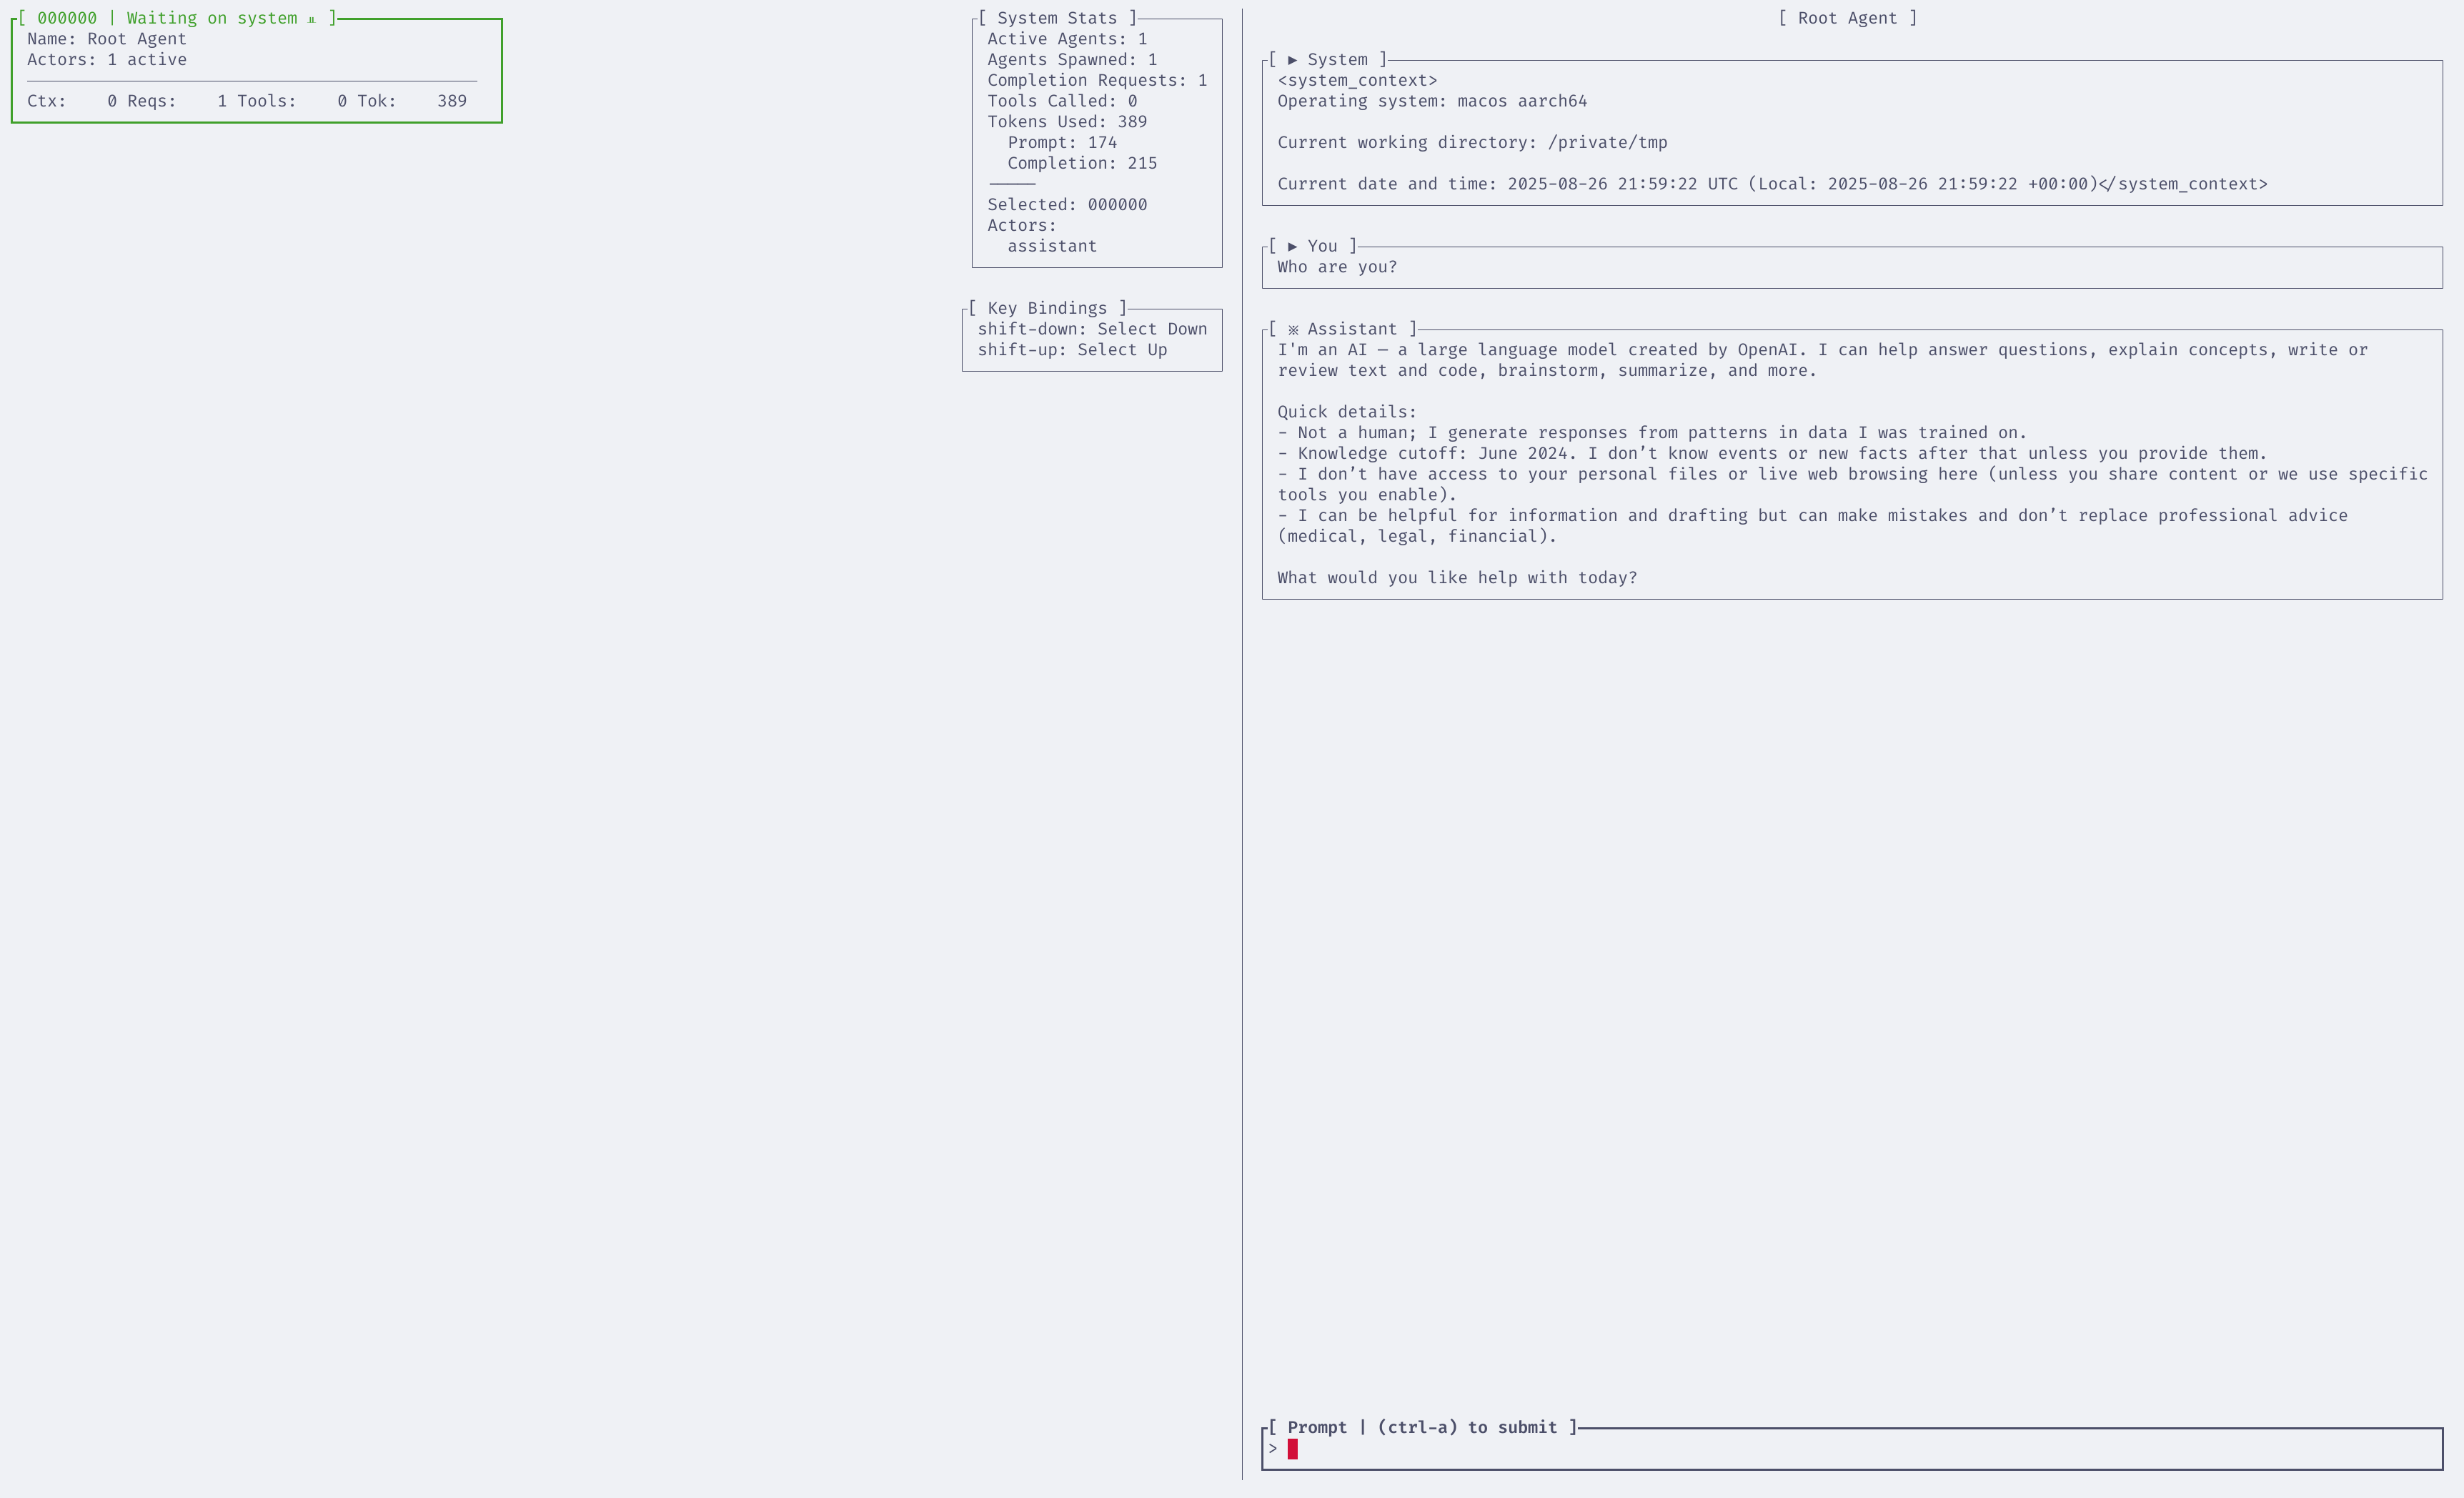
The Wasmind TUI provides an interactive dashboard with a split view:
Chat View
- Purpose: Interact directly with your AI assistant
- Usage: Type messages and press
Ctrl+Ato send them to the assistant - Key Features: See conversation history, assistant responses, and any tool usage
Graph View
- Purpose: Visualize agent relationships and message flow
- Usage: See how actors are connected and how messages flow between them
- Key Features: Real-time message visualization, actor hierarchy
Tip: For advanced TUI configuration options like custom key bindings, see the wasmind_cli documentation.
Try It Out
In the Chat view:
- Type a message like "Hello! Can you help me understand what you can do?"
- Press
Ctrl+Ato send it to the assistant - Watch the assistant respond in real-time
Since this is a basic assistant with no tools, it can have conversations but can't perform actions like running commands or editing files.
What Just Happened?
When you ran wasmind_cli -c assistant.toml, here's exactly what happened:
- Parsed the configuration - Read and validated your
assistant.tomlfile - Started LiteLLM proxy - Launched the Docker container to handle AI model API calls
- Discovered and compiled actors - Found the assistant actor source on GitHub, compiled it to WebAssembly
- Loaded starting actors - Instantiated the actors listed in
starting_actors(just "assistant" in this case) - Launched the TUI - Started the terminal user interface for you to interact with the system
The assistant actor is now running as a WebAssembly component, ready to receive messages and make API calls to GPT-5-mini through the LiteLLM proxy.
Next Steps
Congratulations! You've successfully run your first Wasmind configuration. Here's where to go next:
Learn About Configuration
Ready to customize your setup? The Configuration guide covers:
- Understanding configuration file structure
- Adding more actors and capabilities
- Customizing TUI settings
- Working with different AI models
Explore Complex Examples
Want to see what's possible? The Examples guide walks through:
- Multi-agent delegation networks
- Tool-enabled assistants
- Collaborative approval workflows
- Custom coordination patterns
Understand Actor Types
Curious about the building blocks? The Using Actors guide explains:
- Different types of actors available
- How actors work together
- When to use each actor type
- Actor capabilities and limitations
Build Your Own Actors
Want to extend Wasmind? Check out the Developer Guide to learn how to build custom actors and extend the system.